We enlist some expert advice on how to photograph the northern lights
I’d been hankering after an updated Nikon ever since ruining mine in the Maldives a few years ago. Stuck with a clunky second-hand Canon, I often found myself fiddling with settings instead of getting the shot I was aiming for.
So, ahead of our trip to Norway, I bit the bullet and bought a new Nikon D610 along with a wide-angle lens. I also spent some time learning how to photograph the northern lights. I knew I may only get one chance and I wanted to be ready. To maximise my chances of getting the shots I wanted, I booked a tour with Andrei, an experienced photographer from Enjoy the Arctic.
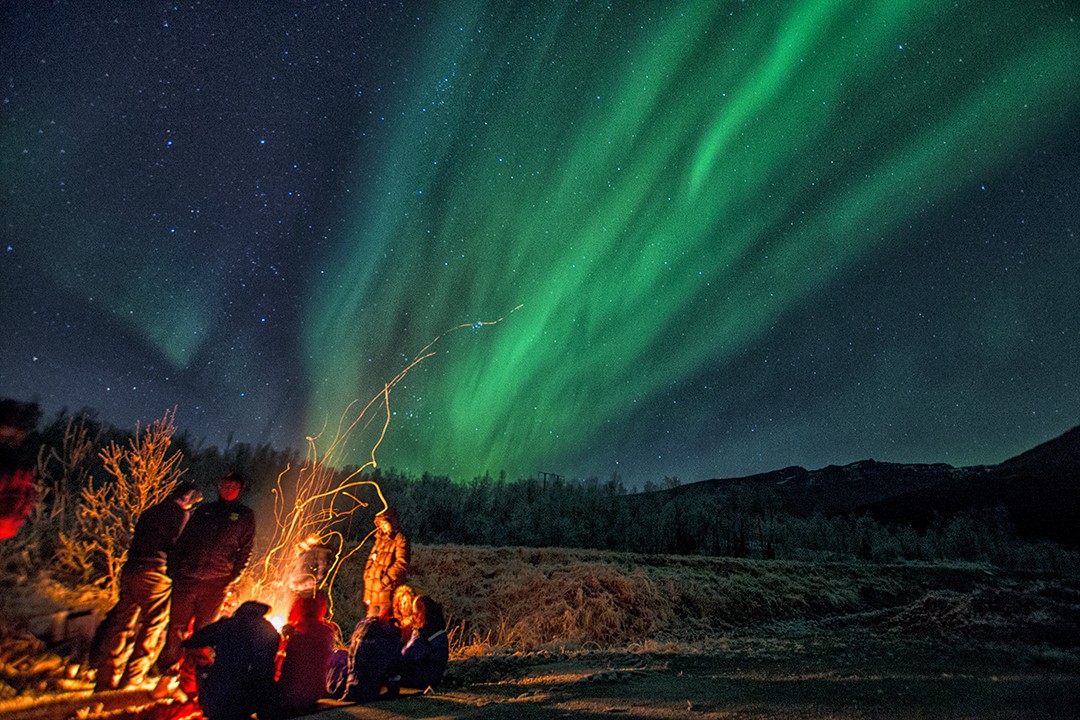
We were picked up from our hotel at 6pm and set off for an evening chase. The lights were elusive that night, but Andrei helped me get my settings just right so that when the lights finally appeared, I was ready.
Here are my (and Andrei’s) best tips on how to photograph the northern lights.
Find Dark skies
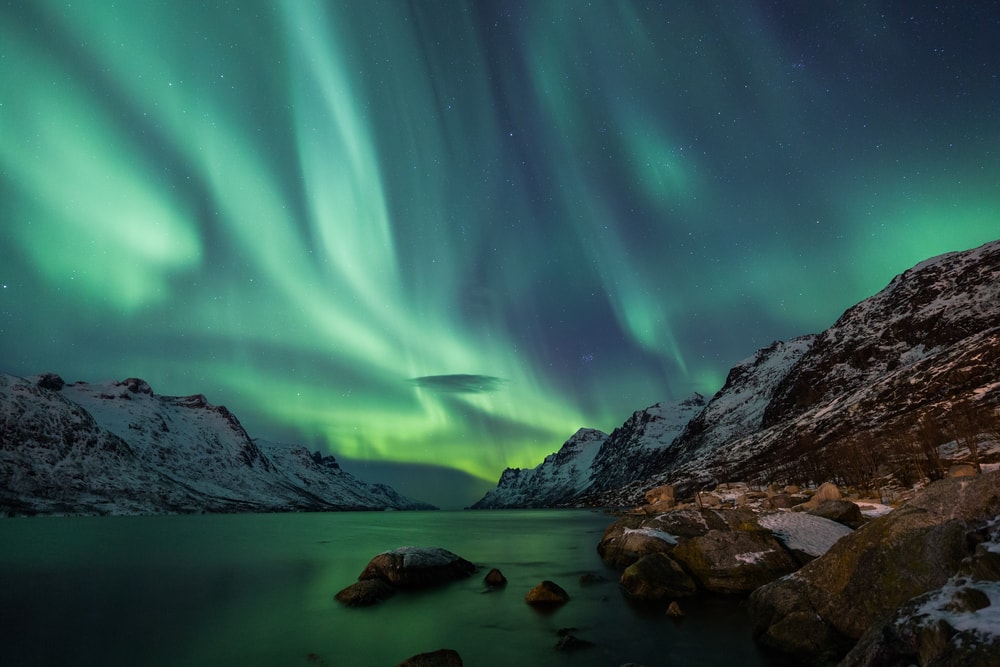
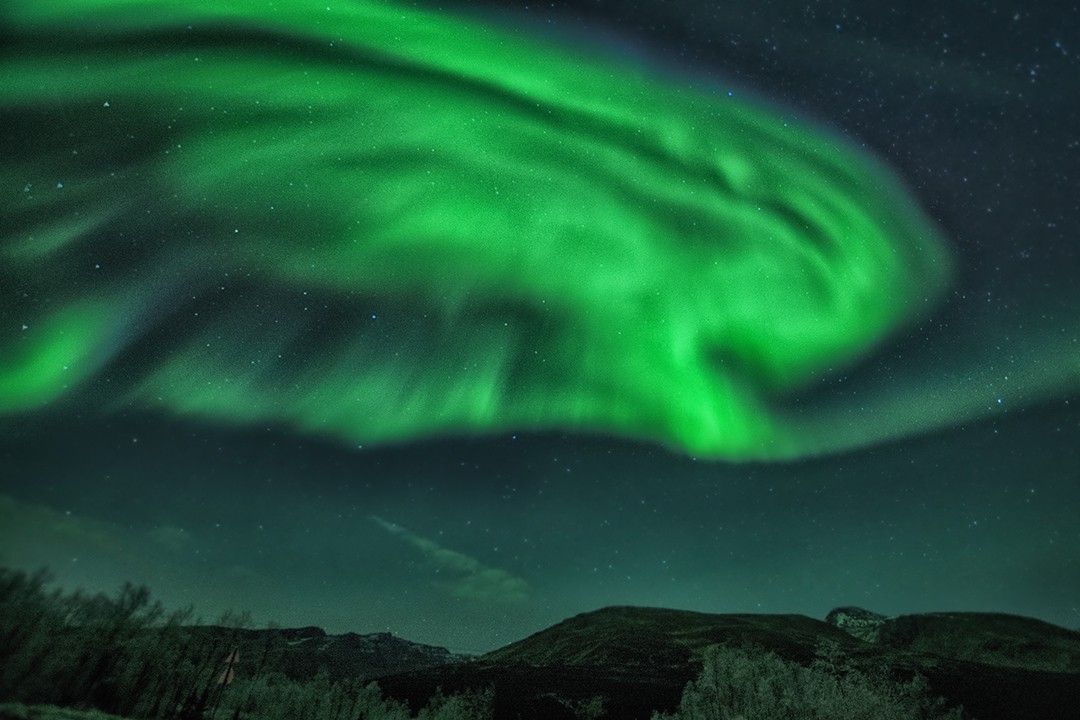
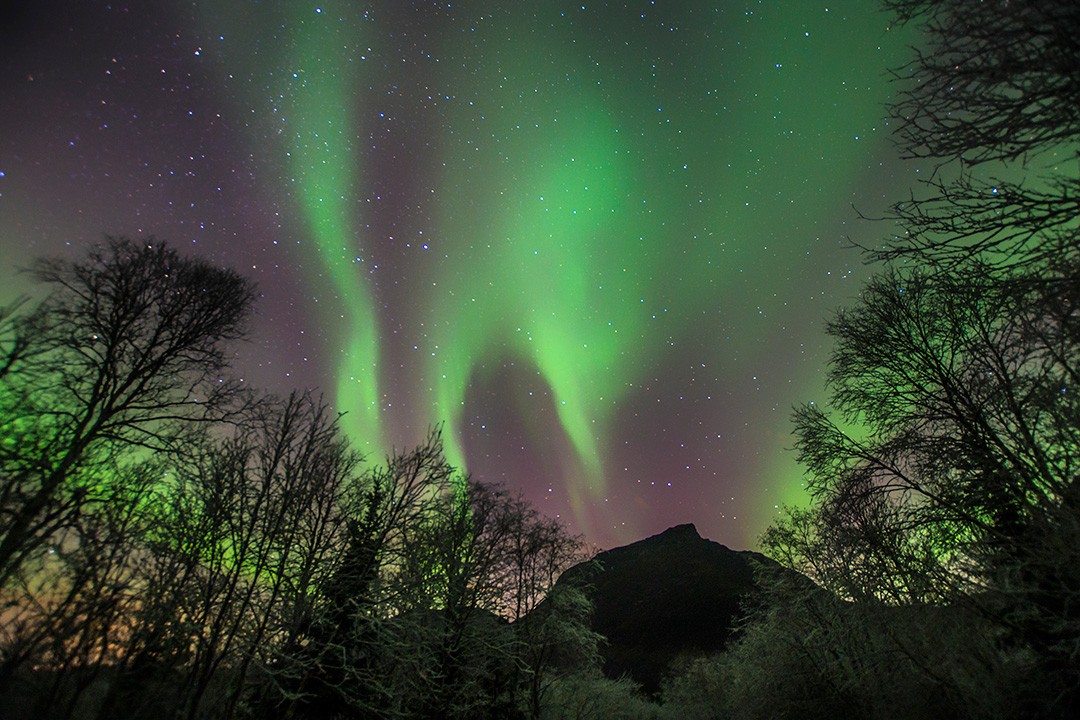
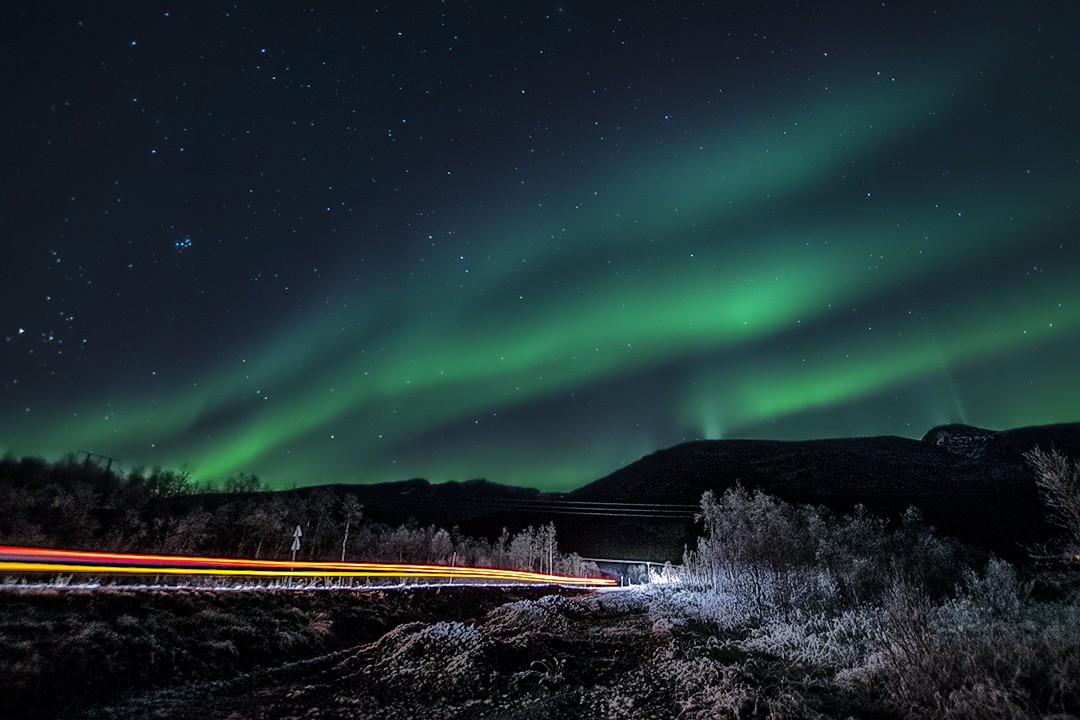
First things first, the northern lights cannot be seen during the day. To capture them in all their glory you need the skies above to be as dark as possible. In the Norwegian Arctic, northern lights tours begin at 6pm and go on until the early hours. Further south, you may need to start your search later in the evening.
Additionally, light pollution rarely makes for great northern lights displays. We were staying in Tromso but travelled out of town on both occasions. The further away from an urban area you can get, the darker the skies will be. We first spotted the lights after driving 20 minutes out of town. They were ‘viewable’, but the real display began another 30 minutes away below inky-black skies, impenetrable by city lights.
Find Clear skies
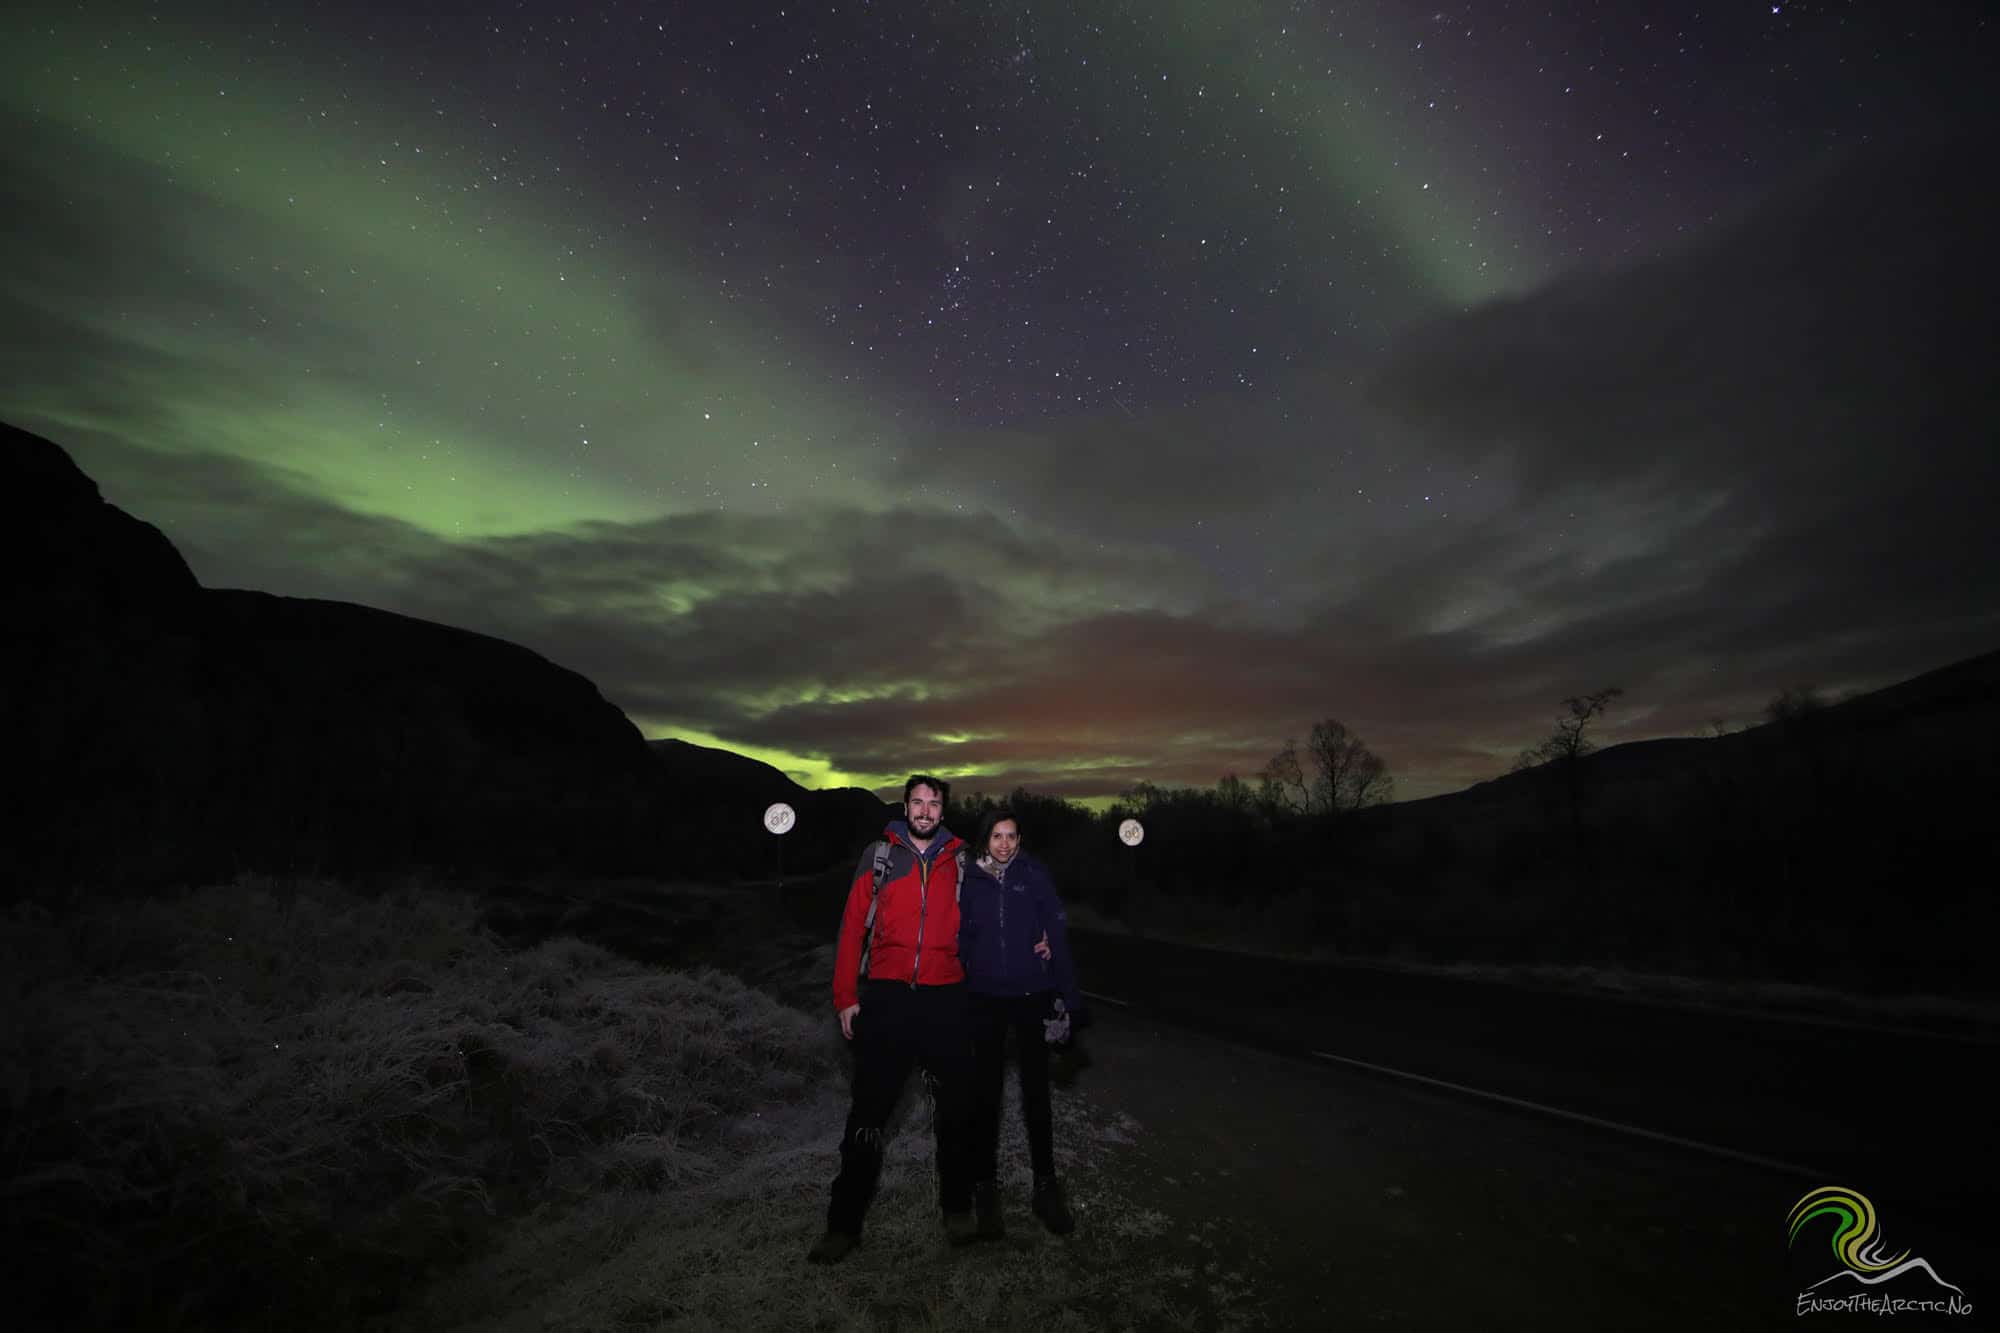
The lights will unlikely be clear beneath cloudy skies which, unfortunately, is out of your control. The best advice is to do your research into the local geography, use as many knowledgeable sources as possible and stay glued to local weather forecasts.
Andrei had lived in the area for years, spending much of his time hiking and fishing in the surrounding wilderness. He knew the area well and knew when and where the lights could be best seen. During our tour he was streaming multiple live weather forecasts on his tablet and was in constant contact with colleagues and friends around the area to see what they were seeing.
You can’t control the weather, but you can get to know it as well as possible.
Minimum gear list
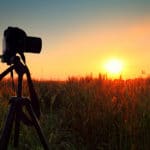
Tripod: You won’t get a decent shot of the lights without one. Ideally, you want a tall and sturdy tripod that has quick-release clamps for quick setup and portability.
Manual camera: Any camera with manual mode should work. Manual mode means you can independently adjust the ISO, aperture and shutter speed. However, for best results a DSLR (digital single-lens reflex) is ideal.
Recommended gear list
Full frame camera: For best results, a full frame (35mm or larger sensor) camera with a high ISO capability will allow you to photograph the northern lights without producing significant noise in your images.
Wide-angle lens: A wide-angle lens with a fast aperture would be ideal – the sky is big after all! I shoot with a Sigma 10-20mm f3.5.
Backup batteries: Using long shutter speeds will drain your battery as will the freezing cold. Take a backup (or two) to be safe.
Head torch: A torch will help you see what you’re doing in the dark while fiddling around with camera settings. It’s also handy for illuminating faces when shooting people in the foreground.
Eyepiece cover: Unwanted ambient light can really affect your photographs so using an eyepiece cover will stop any backlight from reaching the sensor.
Remote control/shutter release mechanism: This will make life easier and ensure your camera is stable.
Focusing
The northern lights are a long way away so you can focus at infinity and usually obtain a clear and sharp focus. Most lenses have a ∞ symbol on them which represents the infinity focus point.
The ∞ symbol doesn’t necessarily mean it will automatically capture a perfectly sharp photo. Many lenses need to be tweaked slightly to find the ideal focus point. However, the ∞ symbol is a great place to start.
Other techniques include focusing your camera during the day using the furthest point on the horizon as a focus point or using the live mode view on your camera, zoomed in, to help you adjust to get the clearest focus point at the longest distance.
Camera settings
White balance: Shoot in RAW so you can adjust the white balance in post-processing. It is worth setting your WB between 3700-4100K if there’s moonlight or 4000-5500K if there isn’t.
Aperture: Use the widest aperture you can up to a maximum of f/2.8 (the ideal setting). Any wider and it will be hard to focus. The key is to allow as much light to hit the sensor in the least amount of time, allowing you to keep your ISO at a lower value, creating less noise.
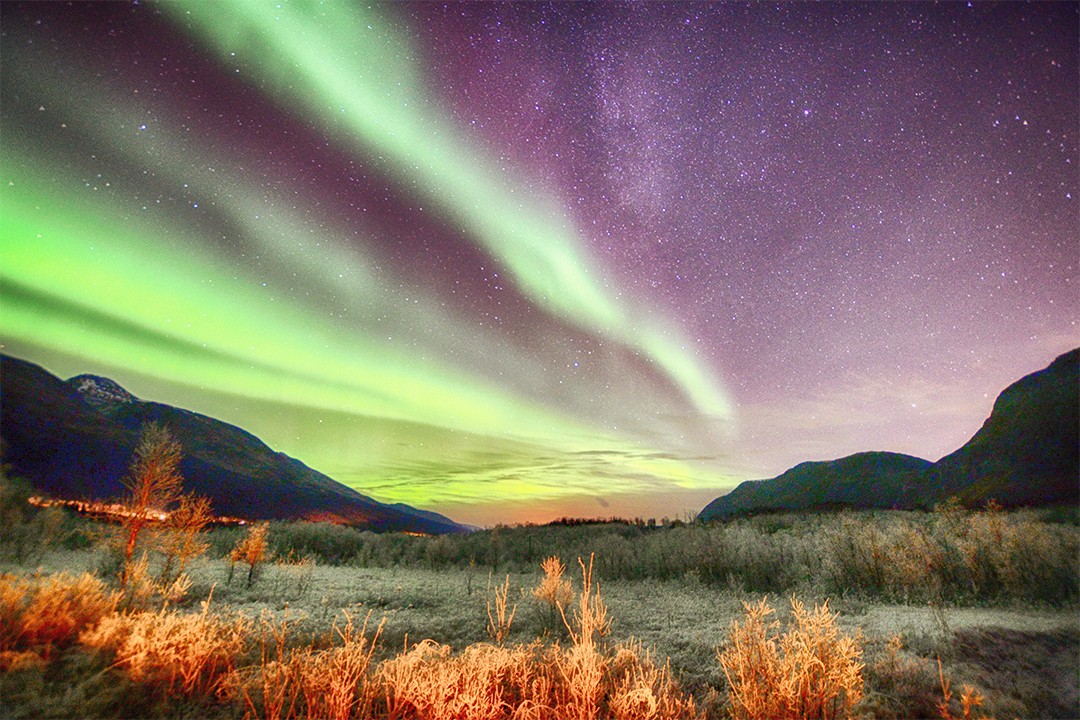
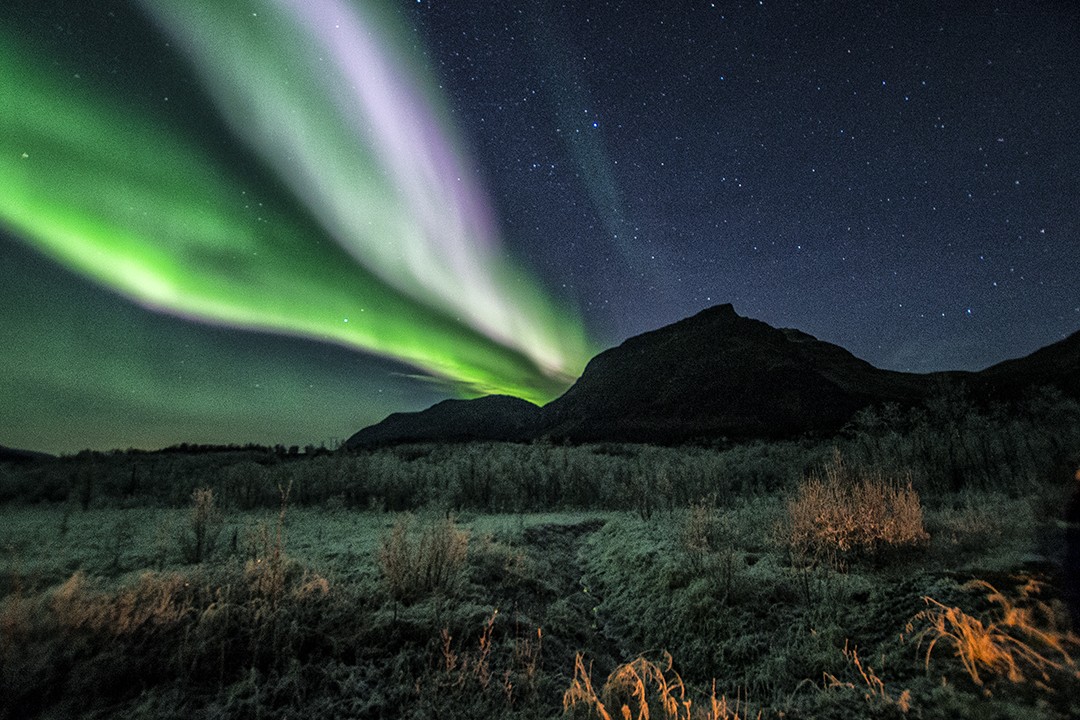
Shutter speed: This will depend on how quickly the lights are moving. I was able to get away with as little as three seconds on some shots as the display was strong and moving quickly. However, in weaker times I had to open the shutter for up to 25 seconds. You can play around with this by increasing the ISO and trading some image quality.
ISO: This is all about finding a happy medium with the shutter speed. On some shots I was able to shoot with an ISO as low as 800, but the majority of the time it was between 2000-3000.
how to photograph the northern lights: The Essentials
What: How to photograph the northern lights in Tromso, Norway.
Where: We stayed at Scandic Ishavshotel, an excellent alternative to the hulking Radisson next door. Located right on the waterfront, Ishavshotel offers panoramic views of Tromso Harbour, Tromso Bridge and the Arctic Cathedral, as well as easy access to local sights – the Polar Museum is mere minutes away.
Our room had floor to ceiling windows and came with all-important heating and carpeting, which made for a cosy refuge after a day (or night!) out in the cold.
The breakfast (included in room rate) is extraordinary. For starters, the hotel has its very own barista on hand to make you coffee. There’s a delicious array of hot dishes as well as fresh bread, cheese plates and cold cuts – but the pièce de résistance is the bowl of macarons sitting quietly in the dessert corner. Unlimited macarons! Have you ever heard such a thing? Needless to say, we highly recommend the hotel.
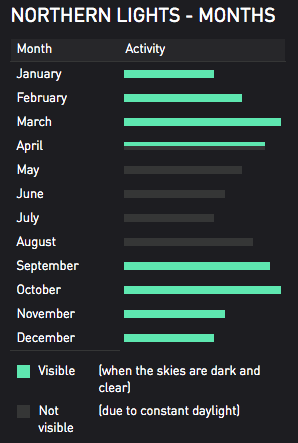
When: There is so much information about the best time to see the northern lights in Tromso, but much of it is conflicting. We visited in October and therefore trust Norway Lights which indicates that March, April, September and October are the best times to see the northern lights in Tromso.
It’s worth noting that when we asked one of our guides about claims that the lights are fading, he said: “As long as the sun still shines on your face, the northern lights will appear.”
How: Chasing and photographing the northern lights isn’t cheap (around 1,250 NOK ($150) per person) but going with a guide really does give you the best chance. We highly recommend Andrei who has been running northern lights tours for several years.
Andrei’s tours include warm drinks, a bonfire, snacks and lots of advice on how to photograph the northern lights. It is also possible to rent a camera and tripod for your tour and Andrei is happy to share any of his photography with you after the tour. Private midnight sun and ice fishing tours are also available.
The most important thing to remember is that seeing the northern lights in Tromso (or indeed anywhere) is highly dependent on weather. It requires patience, resilience (did I mention it’s cold?) and also acceptance of the fact that you may not see anything at all.
The best way to get to Tromso is to fly from Oslo. Book via Skyscanner for the best prices.
From Tromso airport, you can catch the Flybussekspressen into town. These cost 60 NOK ($7.3) and leave from directly outside the airport. The slightly cheaper option is the ‘state bus’ (coloured white). You can buy tickets in the newsagent at Tromso airport (36 NOK or 50 NOK on board). The correct bus stop can be reached by crossing the car park underground or going around it overground. Just ask a member of the airport staff if you’re unsure.