Our detailed and easy-to-follow guide on how to build a campfire will ensure you can enjoy a satisfying and safe campfire when camping
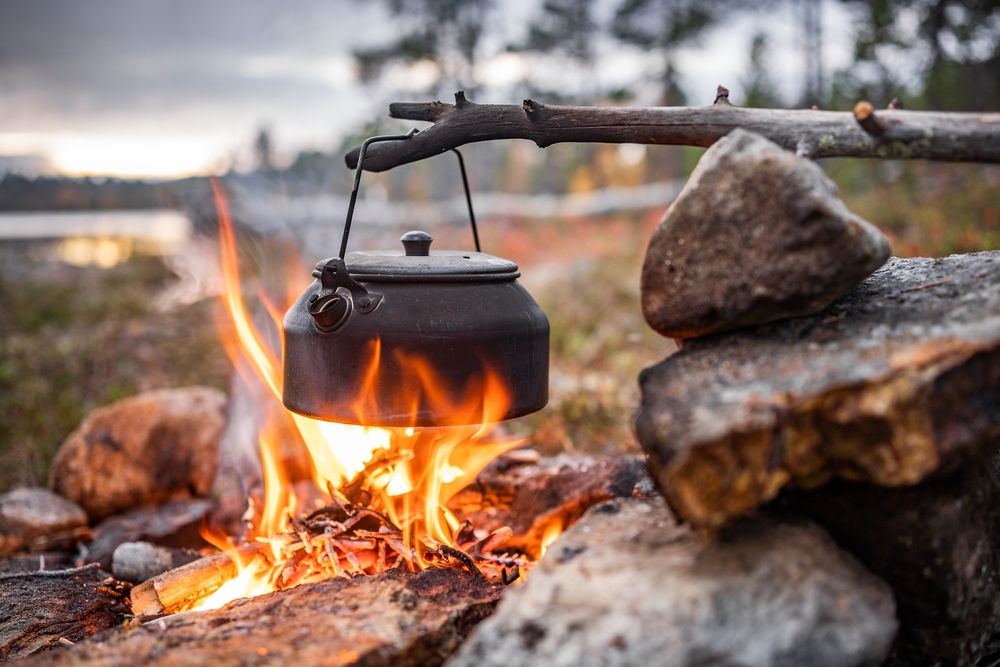
Nothing should get between a camper and a glorious night spent around a campfire beneath the stars. This step-by-step guide on how to build a campfire will help even the most reluctant urban dweller embrace this long-standing tradition of the wild.
How to build a campfire
Follow our eight-step guide on how to make a campfire:
- Step 1: Position your campfire
- Step 2: Create your fire bed
- Step 3: Create a ring of rocks
- Step 4: Gather your wood
- Step 5: Lay your fire
- Step 6: Light your fire
- Step 7: Build up and add to your fire
- Step 8: Extinguish your fire
- Leave no trace
Step 1: Position your campfire
First things first, position your campfire at least 3m (10ft) away from anything flammable like your tent or overhanging trees. Ideally, the area will be sheltered from the wind but always leave enough distance to protect yourself and the environment.
Look for flat ground on which to build your campfire to prevent flaming embers from rolling down the hillside.
Step 2: Create your fire bed
If your campsite has designated fire pits, always use them. If you’re wild camping, use a pre-existing fire bed whenever possible. Naturally, there will be occasions on which you have to make your own.
Your fire bed should be on exposed earth and not grass (especially dead grass). If you can’t find an area like this, you can dig away grass and plant material or pile up some dirt into a small platform (always check local guidelines first).
Give your fire plenty of space by creating a large bed for it as dry grass, branches and plant material can all be a hazard.
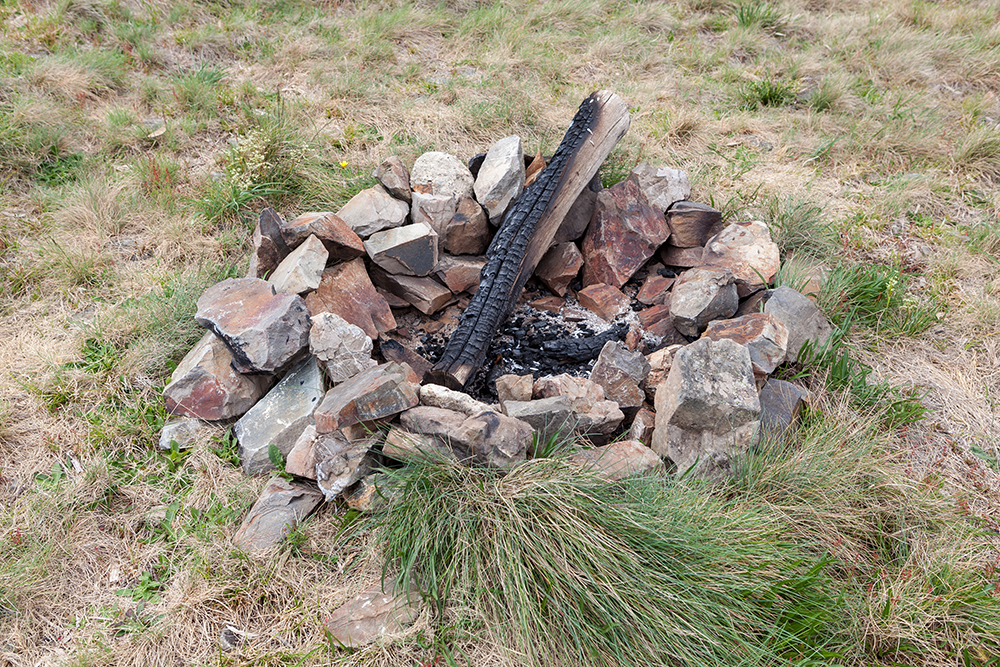
Step 3: Create a ring of rocks
It’s good practice to use a ring of rocks to help contain the fire. Use dry rocks about the size of a clenched fist and space them apart so some air can still circulate at the bottom of the fire.
Don’t build your fire against large boulders or objects as it will leave unsightly marks. Also, avoid using damp or wet rocks as they can spit moisture and even fracture as they heat up.
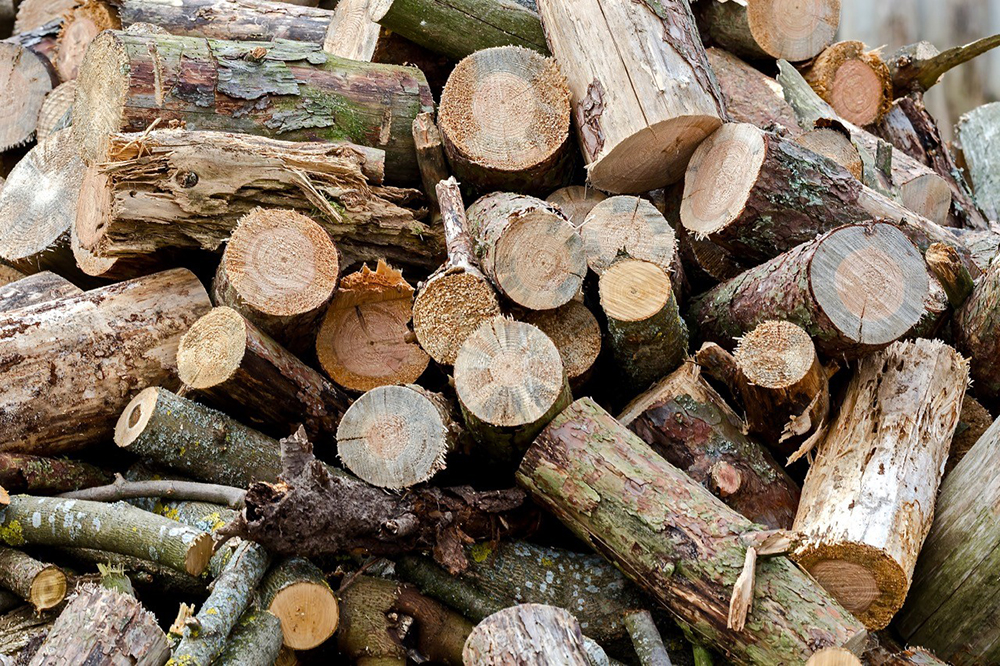
Step 4: Gather your wood
It goes without saying that you want dry wood. Avoid anything that is green, too wet or that bends without snapping – it almost certainly won’t burn well. Try to use only fallen wood – this is better for the environment and burns more effectively too.
Always collect more tinder and kindling than you think you’ll need; it burns quickly and if you run out early on, your fire will never get going.
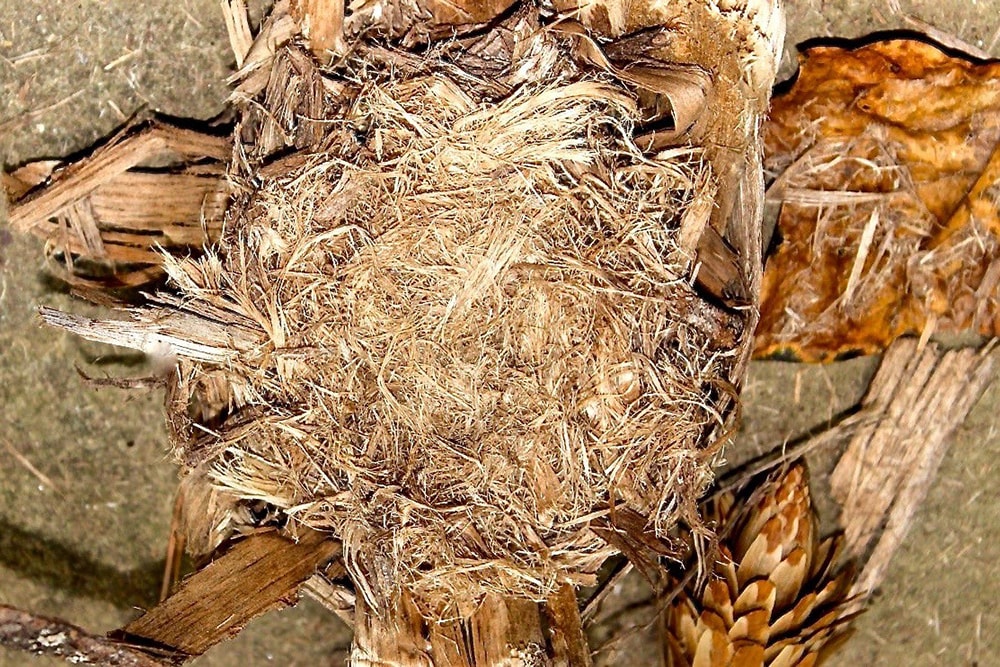
Tinder: Every good campfire starts with good tinder. Campfire tinder should catch fire easily and burn fast. Material such as dry leaves, grass, bark and wood shavings all work well. If you’re a smart camper, you’ll bring your own tinder such as dryer lint, char cloth or firelighters.
Firelighters: A survivalist may scoff at the suggestion of firelighters but a smart camper will pack them regardless. These handy flammable cubes save time and effort and weigh next to nothing in your backpack.
If it’s wet underfoot and you can’t find dry tinder, you’re not going to have a campfire. Lightweight high-performance firelighters like Zip will give you the best chance of a successful campfire. Use them alongside or instead of tinder.
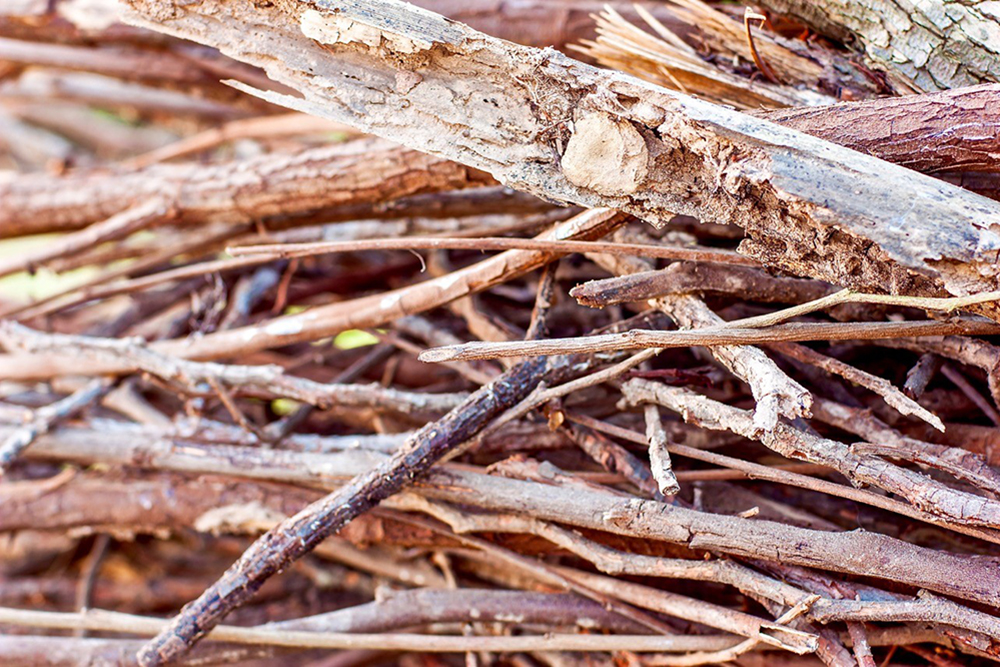
Kindling: You can’t move directly from tinder to your main fuel such as logs as this will smother your fire. Like tinder, campfire kindling needs to be as dry as possible or it won’t burn as easily. Try to find small twigs and branches about the length and width of a pencil.
If you’re struggling to find dry kindling, you can use your penknife (of course you have a penknife) to whittle down larger damp twigs and branches to get to the drier timber underneath.
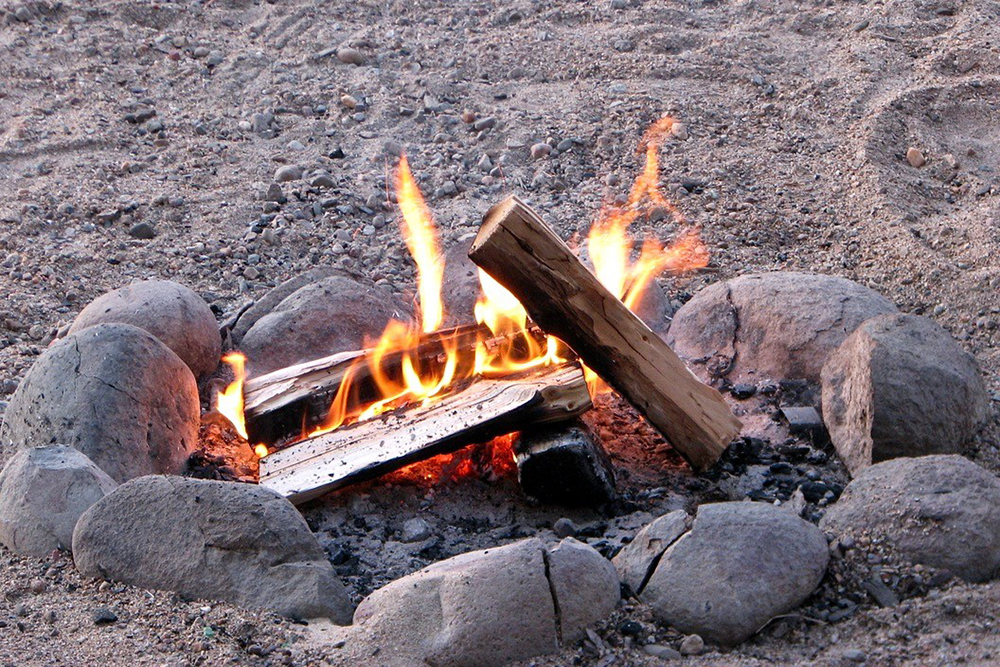
Fuel: Unlike tinder and kindling, you can get away with your fuel wood being a little damp. A well-built fire will dry it out (but it’s still not ideal). You’ll want a range of different-sized branches and logs for your main fuel – not just woodsman-sized logs.
Gather a range of branches and logs that are roughly as wide as your wrist or your forearm.
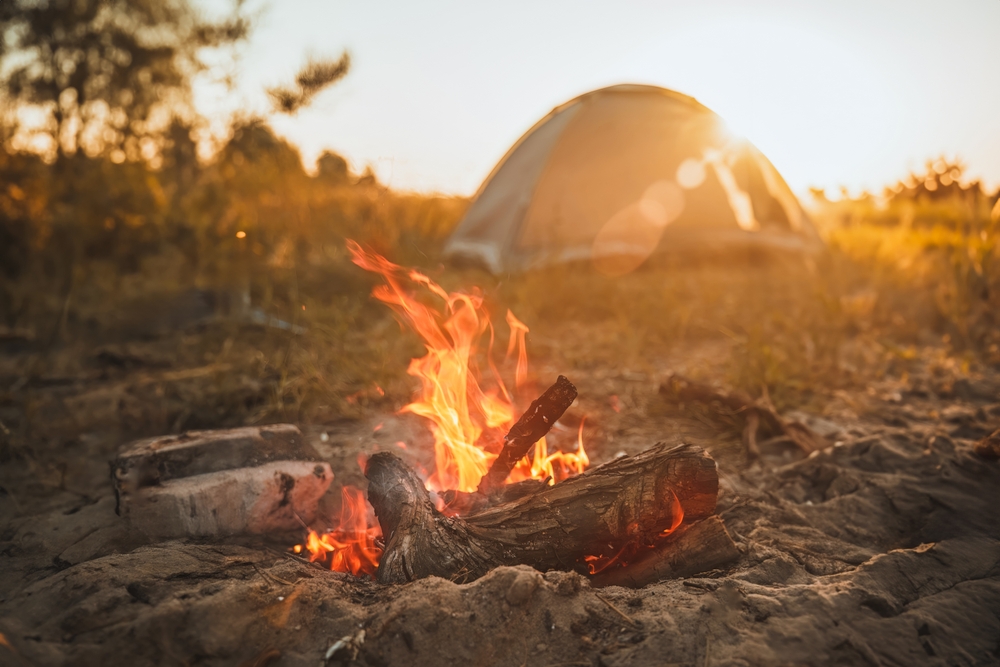
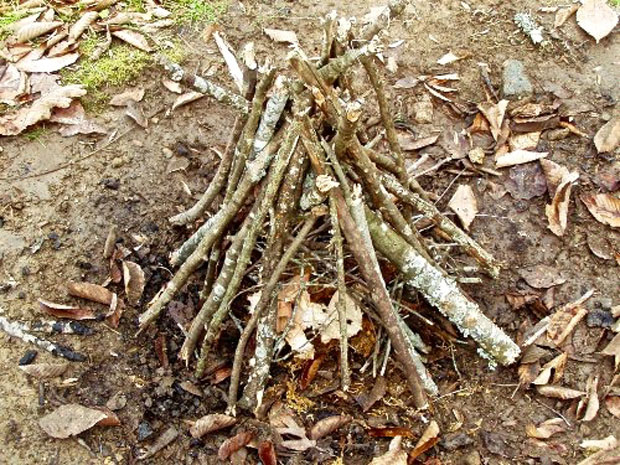
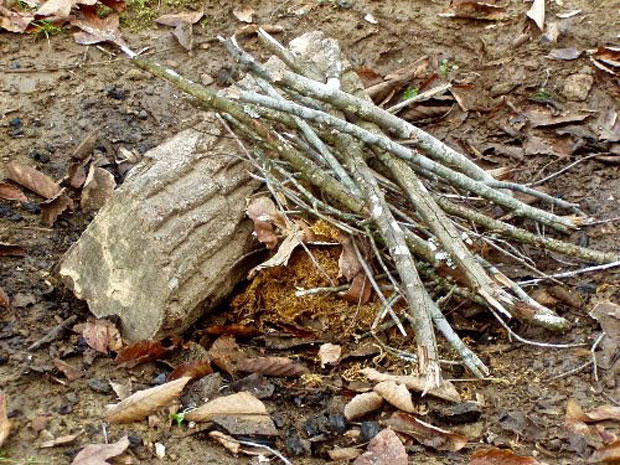
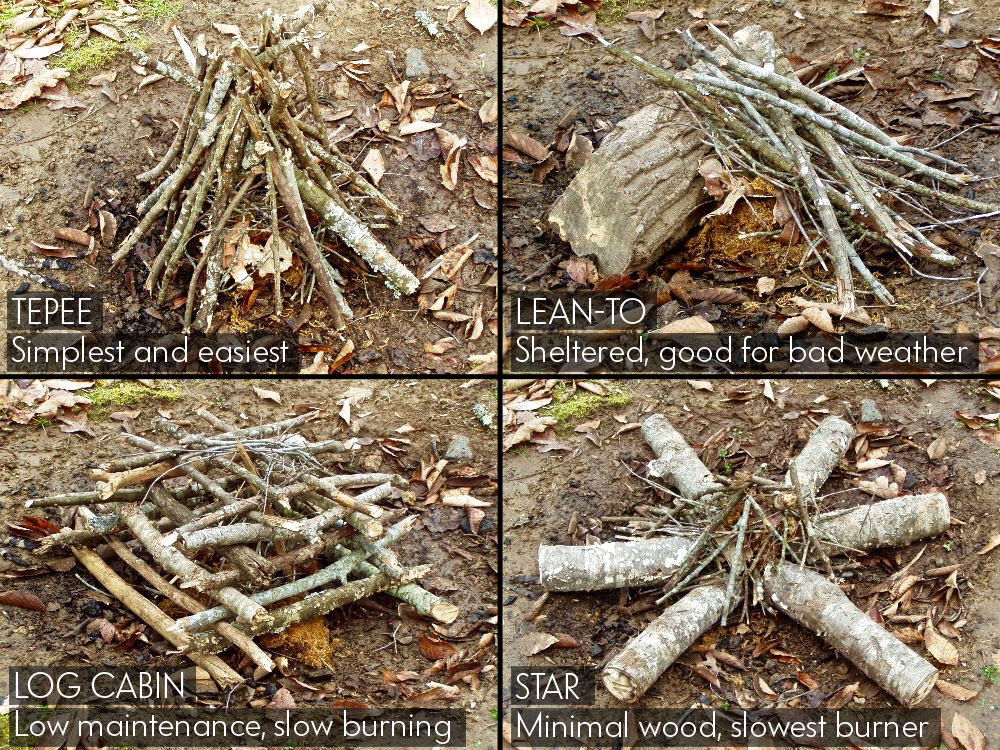
Step 5: Lay your fire
There are several campfire-building techniques depending on what your needs are. Nearly all start with either a tepee or lean-to fire lay.
Tepee: Place a bundle of tinder in the centre of your fire bed and then build a tepee around and above it using your kindling wood. Leave a small gap for lighting and to let air in.
Gradually build this up with kindling and then add to it with some of your smaller fuel wood. With both the kindling and the fuel wood try to keep the thicker ends at the bottom.
Lean-to: Stick a long piece of kindling into the ground at about a 30-degree angle – this will be your support stick. It can also be leaned against a bigger log instead.
Bundle tinder and some smaller kindling under the support stick before laying kindling against it around the outside. Add another layer.
Now stand back and admire your work for a moment. You now know how to build a perfect campfire.
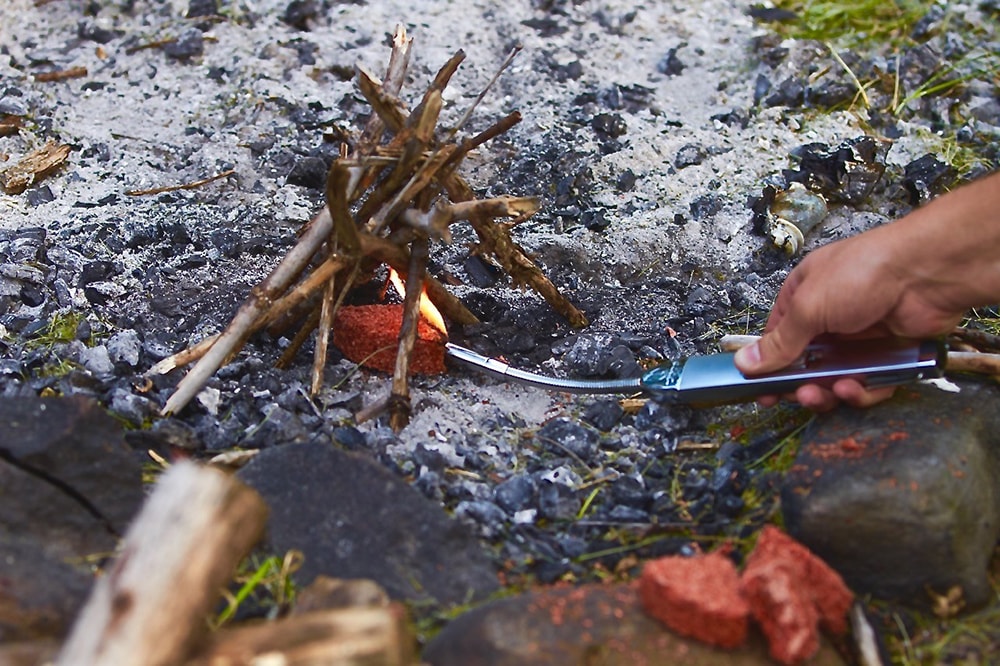
Step 6: Light your fire
When lighting your campfire you want to alight the tinder right in the centre as quickly as possible. Matches can get wet and easily blow out outdoors.
Cigarette lighters are not good for getting right inside the tinder bundle. I use a flex-neck refillable lighter which has a wind-resistant flame, ideal for lighting campfires in all conditions.
Step 7: Build up and add to your fire
Once your fire is going, it’s time to build it up. You have a number of choices depending on your needs. Whichever method you choose, build up your campfire slowly and steadily, working through your fuel from the thinner branches up to the larger logs.
I rarely cook on my campfires so tend to stick to either the tepee or lean-to and continue to build them using the same method. When I do cook, I opt for the log cabin which provides the best support.
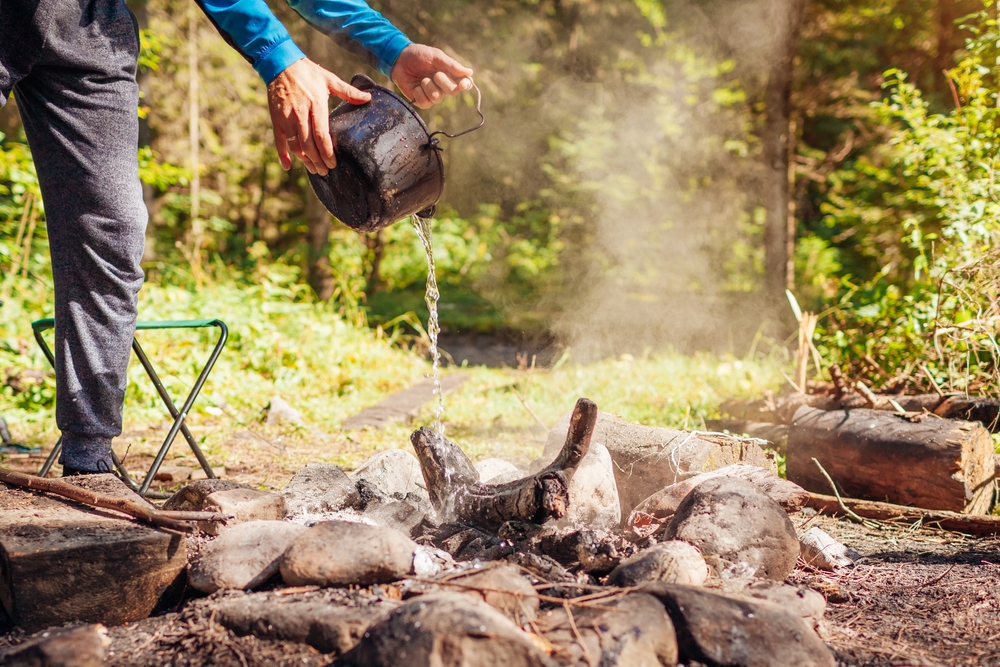
Step 8: Extinguish your fire
This is the saddest part of an evening around a campfire but it’s also crucial. Give yourself plenty of time and start to extinguish your fire at least 20 minutes before you want to be tucked in your sleeping bag. Hopefully, you have allowed your campfire to die down so it’s no longer roaring.
Lightly sprinkle water onto the fire bed and stir the embers and ashes with a stick. Heat test the fire by holding the back of your hand close to it. If it’s too hot to keep your hand there, the fire is still too hot to leave. Continue to sprinkle water and stir until safe to leave.
Leave no trace
Finally, any campfire setup must follow the Leave No Trace Seven Principles and patch up any disturbed ground. Most importantly, always know and follow the fire regulations of the area you’re visiting.
Enjoyed this post? pin it for later…