I’ve been involved in photography in one way or another for 12 years now. At university, I studied photography and video and went on to work as a camera operator followed by seven years of teaching photography at secondary school level.
More recently, I have sold my landscape and travel photography online and to various publications and now, while travelling, it has become my only source of income which is somewhat terrifying!
Along the way, my photography has constantly improved and I hope will continue to. If you’re a budding travel photographer, start with the tips below on how to take better travel photos.
Understand the basics
To make the switch from Auto to Manual you need to know the basics of shutter speed, aperture and ISO settings. Below are the bare minimum basics depending on what you’re shooting. These are not hard and fast rules, but they’re enough to get you started.
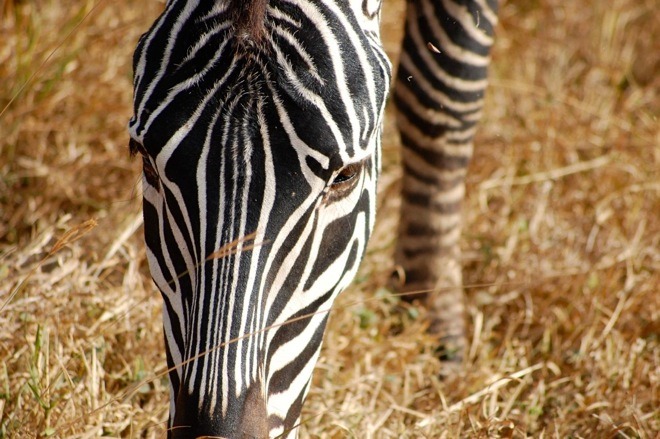
- Large aperture for depth (portraits and close-ups)
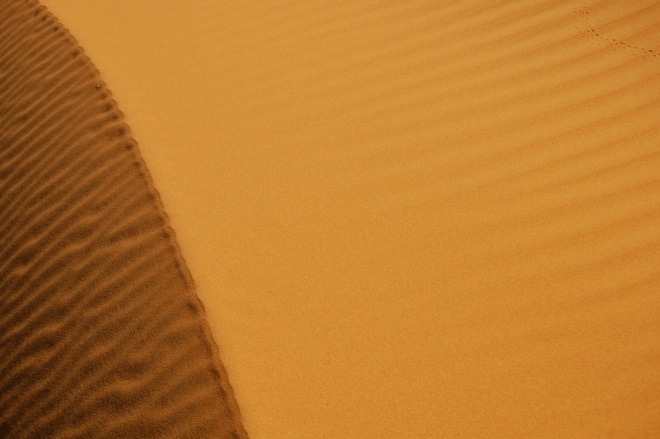
- Small aperture for landscapes and wide shots
- Fast shutter speed for action and movement (waterfalls, animals, sports)
- Slow shutter speed for low light level (tripod is often required)
- Large aperture and fast shutter speed for shots with depth
- Small aperture and slow shutter speed for flat shots
- ISO controls the sensor/light sensitivity – this can mean trading quality for exposure
- Learn the Sunny f16 rule – old school but still relevant
Get out of Auto Mode
Every photographer is guilty of this sometimes, myself included, but ditching the auto settings and switching to Manual gives you a greater degree of control over the camera – particularly depth and focus. Simply put, Full Auto mode will mostly try to use shutter speed between 1/100 and 1/200 and a mid-range aperture like f10-f12. When these are viewed at 100%, softness will likely be revealed, compromising quality. In good light, shutter speeds should really be much higher.
Think about composition
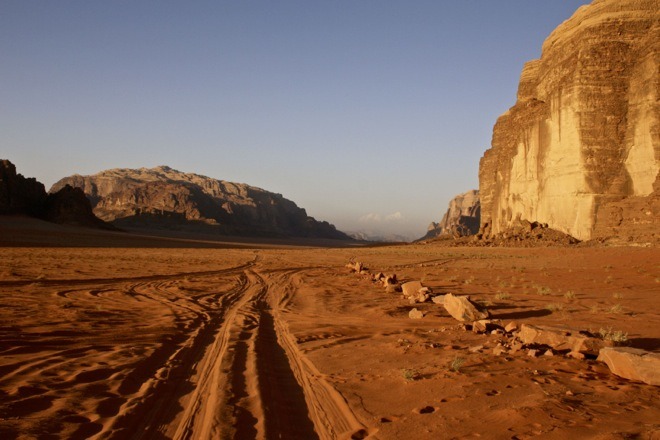
Composing your shot is half the work, particularly with landscape and travel photography. I learnt the following rules years ago when I was still a student and they still serve me well during shooting as well as post-production.
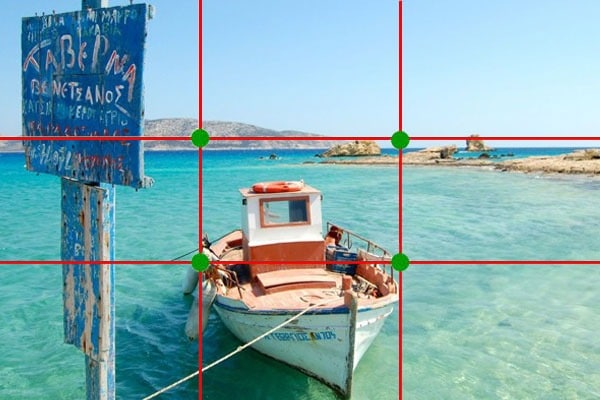
Rule of thirds: In its basic form, split the shot into thirds vertically and horizontally, and try to divide up the shot. This is particularly useful with shots of horizons. Also, think about where the “action” in a shot will be unfolding. On the intersection of two points is usually a good place.
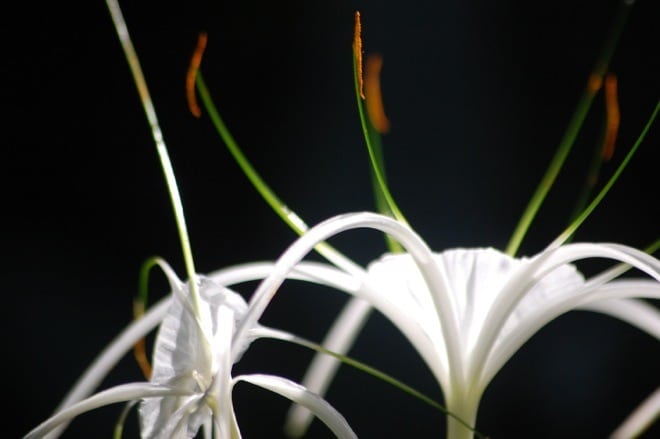
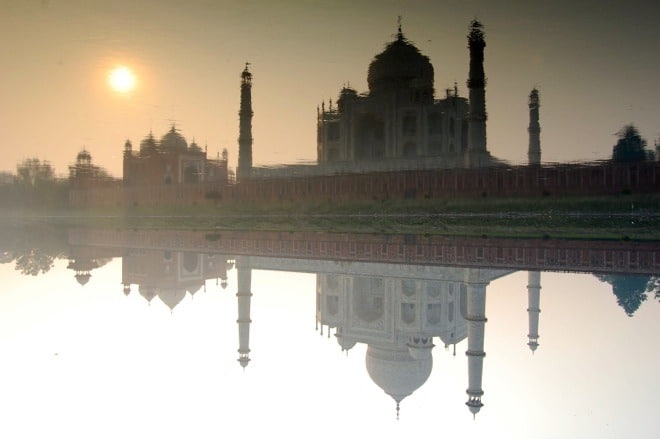
Perspective and depth of field: Photographs always become more interesting when there is depth involved – just like art. Using manual camera settings will help you partially achieve this, but composing your shot carefully before you snap will greatly improve the outcome.
Use of lines and frames: Use naturally occurring lines and frames to lead the viewer to what you want them to focus on. Lines can particularly help give a photograph depth and prospective. Frames can enclose a shot, giving it a natural frame.
Use AF point selection – what are you focusing on?
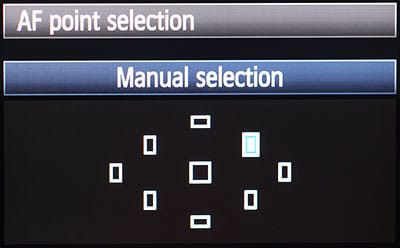
Decide where in the frame you want to focus. On most modern cameras you have a choice of at least eight different focus points as well as the central AF point used in Auto Mode. You should tell the camera where to focus, not the other way around. This will help you develop all of aforementioned skills, particularly when working with depth.
Create some pre-sets
Fiddling around with buttons in Manual mode when a once-in-a-lifetime shot is unfolding in front of you only to get the wrong shutter speed and end up with nothing but a frame of white or black is deeply frustrating. You’ll be left thinking that you should have stuck to Auto Mode! Create some pre-sets that you know work in certain environments. Most digital SLRs will allow at least three.


Atlas & BOots
Some more quick fixes:
- Carry a lightweight mini-tripod or spider for low-level lighting and timer shots.
- Move! Don’t be afraid to get “down and dirty” to get the best shots. My teacher forced me to use a fixed lens when I was learning.
- Know how to clean your sensor. Cameras differ but, in general, remove the lens and switch to bulb so you can control how long the shutter stays open. Then, use a cotton bud to clear any dirt and dust that has made its way in.
- Buy a telephoto lens for getting that shot when you simply can’t get close enough. Think safaris and crowded markets.